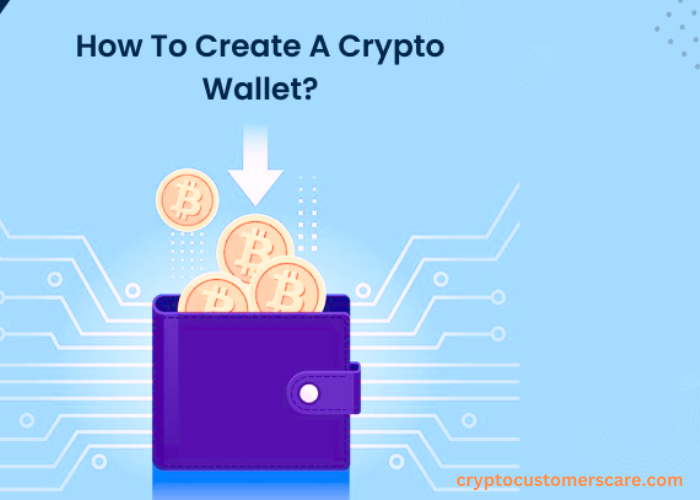
In today’s digital age, the need for secure storage and management of cryptocurrencies is paramount. With the increasing popularity of cryptocurrencies, it is essential to have a reliable and secure method of storing your digital assets. One such method is through the use of a USB crypto wallet. A USB crypto wallet is a portable device that allows you to securely store your cryptocurrencies offline. In this step-by-step guide, we will walk you through the process of creating your own DIY USB crypto wallet.
Why Create a DIY USB Crypto Wallet?
While there are many commercially available USB crypto wallets on the market, creating your own DIY USB crypto wallet has its advantages. Firstly, it allows you full control over the security of your wallet. By building your wallet from scratch, you can ensure that there are no backdoors or vulnerabilities that could be exploited by hackers.
Additionally, creating your own DIY USB crypto wallet can be a cost-effective solution, as it eliminates the need to purchase a commercial wallet. With these benefits in mind, let’s dive into the process of creating your very own DIY USB crypto wallet.
Choosing the Right Hardware and Software for Your DIY USB Crypto Wallet
Before you begin building your DIY USB crypto wallet, it is important to choose the right hardware and software. When it comes to hardware, you will need a USB drive with sufficient storage capacity to hold your cryptocurrencies. It is recommended to use a high-quality USB drive from a reputable brand to ensure reliability. Additionally, you will need a computer with an internet connection to install the necessary software for your wallet.
When it comes to software, there are several options available for creating a DIY USB crypto wallet. Some popular choices include Electrum, Mycelium, and Ledger Live. These software wallets offer a user-friendly interface and robust security features. It is important to research and choose a software wallet that fits your needs and preferences. Once you have selected the hardware and software for your DIY USB crypto wallet, you are ready to move on to the next step.
Step 1: Gathering the Necessary Materials
Before you begin the process of building your DIY USB crypto wallet, it is important to gather all the necessary materials. You will need a USB drive with sufficient storage capacity, a computer with an internet connection, and the software wallet of your choice. Additionally, you may need a pen and paper to write down important information such as your wallet address and recovery seed.
Step 2: Setting up Your USB Drive
Now that you have gathered all the necessary materials, it is time to set up your USB drive. Start by plugging the USB drive into your computer’s USB port. Make sure that the USB drive is properly recognized by your computer. Next, format the USB drive to ensure that it is clean and free of any existing data. This step is crucial to ensure the security of your DIY USB crypto wallet.
Step 3: Installing the Wallet Software
With your USB drive set up, it is time to install the wallet software. Download the software wallet of your choice from the official website or reputable sources. Once the download is complete, double-click the installation file and follow the on-screen instructions to install the software on your computer. Make sure to select your USB drive as the installation location to ensure that the wallet software is installed directly onto your USB drive.
Step 4: Generating Your Wallet Address
Once the wallet software is installed, launch the software and follow the instructions to generate your wallet address. Your wallet address is a unique identifier that allows you to receive cryptocurrencies. It is important to keep your wallet address safe and secure, as it is the key to accessing your cryptocurrencies. Write down your wallet address on a piece of paper and store it in a secure location.
Step 5: Securing your DIY USB crypto wallet
Security is of utmost importance when it comes to cryptocurrencies. To secure your DIY USB crypto wallet, you should enable additional security features such as two-factor authentication and encryption. These features add an extra layer of protection to your wallet and ensure that only you can access your cryptocurrencies. Additionally, make sure to create a strong and unique password for your wallet to further enhance security.
Step 6: Transferring and Storing Your Cryptocurrencies
Now that your DIY USB crypto wallet is set up and secure, it is time to transfer and store your cryptocurrencies. To do this, you will need to purchase cryptocurrencies from a reputable exchange and transfer them to your wallet address. Follow the instructions provided by the exchange to initiate the transfer. Once the transfer is complete, your cryptocurrencies will be safely stored on your DIY USB crypto wallet.
Step 7: Testing Your DIY USB Crypto Wallet
Before you start using your DIY USB crypto wallet for everyday transactions, it is important to test its functionality. Send a small amount of cryptocurrencies to your wallet address and verify that the transaction is successful. This will give you confidence in the security and reliability of your DIY USB crypto wallet.
Tips for Maintaining and Updating Your DIY USB Crypto Wallet
To ensure the longevity and security of your DIY USB crypto wallet, it is important to follow some best practices. Regularly update your wallet software to benefit from the latest security patches and features. Additionally, make sure to keep a backup of your wallet address and recovery seed in a secure location. In the event of a hardware failure or loss, having a backup will allow you to recover your cryptocurrencies.
Conclusion
In conclusion, creating your own DIY USB crypto wallet is a great way to ensure the security and control of your cryptocurrencies. By following the step-by-step guide outlined in this article, you can build your own DIY USB crypto wallet and start securely storing and managing your digital assets.
Remember to choose the right hardware and software, gather the necessary materials, and follow the recommended security practices. With your DIY USB crypto wallet, you can have peace of mind knowing that your cryptocurrencies are safe and secure. Start building your DIY USB crypto wallet today and take control of your digital assets.